Agricultural Literacy Curriculum Matrix
Lesson Plan
Machines on the Farm
Grade Level
K - 2
Purpose
Students identify different machines used on farms and what they do. Grades PreK-K
Estimated Time
1 hour
Materials Needed
Engage:
- Hey, Hey, Hay by Christy Mihaly
Circle Time: Machines on the Farm
- Tremendous Tractors by Tony Mitton and Ant Parker
- Vocabulary Development Photo Cards
- Machines on the Farm Song (prior to the lesson, copy the song onto an easel pad)
Literacy: Alphabet Plowing
- Alphabet Plowing Cards
- Shallow tray filled with soil
- Pencil
- Small toy tractors
Math: Tractor Squeeze
- Tractor Squeeze Props
- Craft sticks
- Number line, 1-10 or 1-20
Art: Build a Tractor
- Build a Tractor Templates printed on cardstock
- Green, yellow, white, and light blue cardstock
- Scissors
- Glue sticks
Vocabulary
machine: an apparatus using or applying mechanical power and having several parts, each with a definite function and together performing a particular task; a device used to help make work easier
Background Agricultural Connections
In an effort to simplify the idea of where food comes from, many early learners are implicitly taught that most farms look like the farms of the past: a single family living and working on a farm to provide for their day-to-day needs. In the past, the entire family would work on the farm and there was always work to be done. Typically, these farms would grow many different fruits and vegetables, with a big barn that housed a variety of livestock animals: a small brood of chickens, a horse, several cows and pigs, and a small herd of sheep. The family's food came from their own farm. Although some farms are still like that, today we get most of our food from much larger farms—still family owned—that specialize in growing one type of food. There are egg farms, dairy farms, almond farms, and apple farms. Modern farms require specialized knowledge, skills, and machinery in order to survive the global marketplace.
This lesson is part of a series called, Life on the Farm. The remaining lessons can be found at the following links:
- All Kinds of Farms
- Animals on the Farm
- Crops on the Farm
- Machines on the Farm
- Thank You Farmers
A machine is a device used to make work easier. People appreciate machines because they save time and human energy. Machines are a basic part of our heritage. The human's innate genius for invention and tinkering has resulted in the creation of many machines. Thus, machines have turned people's dreams into reality. Almost everything people do depends, in some way, on machines—simple or complex. The development of agricultural implements has not only made work easier for the farmer, but advanced technology continues to make the machines more efficient.
Engage
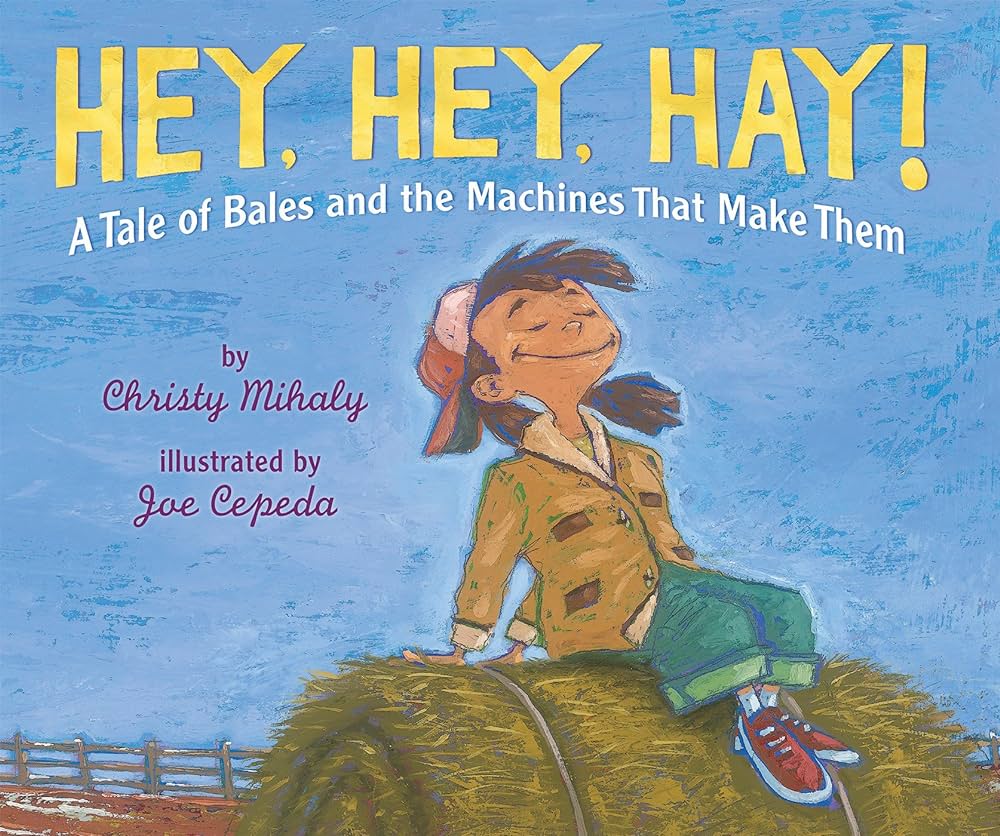 Read Hey, Hey, Hay by Christy Mihaly.
- Ask the students, "What machines did the girl and her mom use to make hay bales?" (tractor, mower, tedder, hay rake, baler, bale grabber)
- Explain to the students that farm machines make work easier for farmers. Tell them that they will be learning about different machines used on farms and what they do.
Explore and Explain
Circle Time: Machines on the Farm
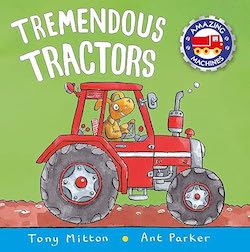 Read the book, Tremendous Tractors by Tony Mitton and Ant Parker.
- After reading, review the Vocabulary Development Photo Cards.
- Show the cards to the children and say the name of each photo on the card. Encourage the children to repeat the vocabulary words after you.
- Ask the children to identify the object or action on the card and describe what it is or does.
- Possible prompts:
- Tire: The round rubber part on the tractor that helps it move and grip the ground. What other vehicles have tires and how are they different from tractor tires?
- Plow: A farm tool that is pulled by a tractor and used to turn over soil and create furrows for planting seeds. How does this make a farmer's job easier?
- Furrow: A long narrow trench that is made in the ground by a plow, which helps farmers plant seeds in neat rows. What tool did farmers use to make furrows before the plow was invented? Why do they use a plow now?
- Hopper: A part of the tractor that holds and distributes seeds or fertillizer while the farmer is planting crops. Have you ever planted a seed in the ground? What was it like?
- Bale: A large bundle of hay or straw that has been compressed and tied together. Bales are often used as animal feed or bedding. Have you seen a bale of hay? What does it look/smell/feel like?
- Thresh: The process of separating grains, like wheat or rice, from the stalks and husks that surround them, which is done using a machine called a thresher. How does your family eat wheat or rice?
- Teach the students the song, Machines on the Farm. Tips for teaching preschoolers a new song:
- Use Visuals: Use pictures or props to help children understand the lyrics and the tune of the song. Use hand gestures or actions to make the song more engaging.
- Break it Down: Teach the song in small parts, repeating each part until the children are familliar with it. Sing the song slowly and clearly so that the children can follow along.
- Repeat, Repeat, Repeat: Encourage the children to sing the song repeatedly until they have memorized the lyrics and the tune. Repetition is key in helping children learn and remember new songs.
Literacy: Alphabet Plowing
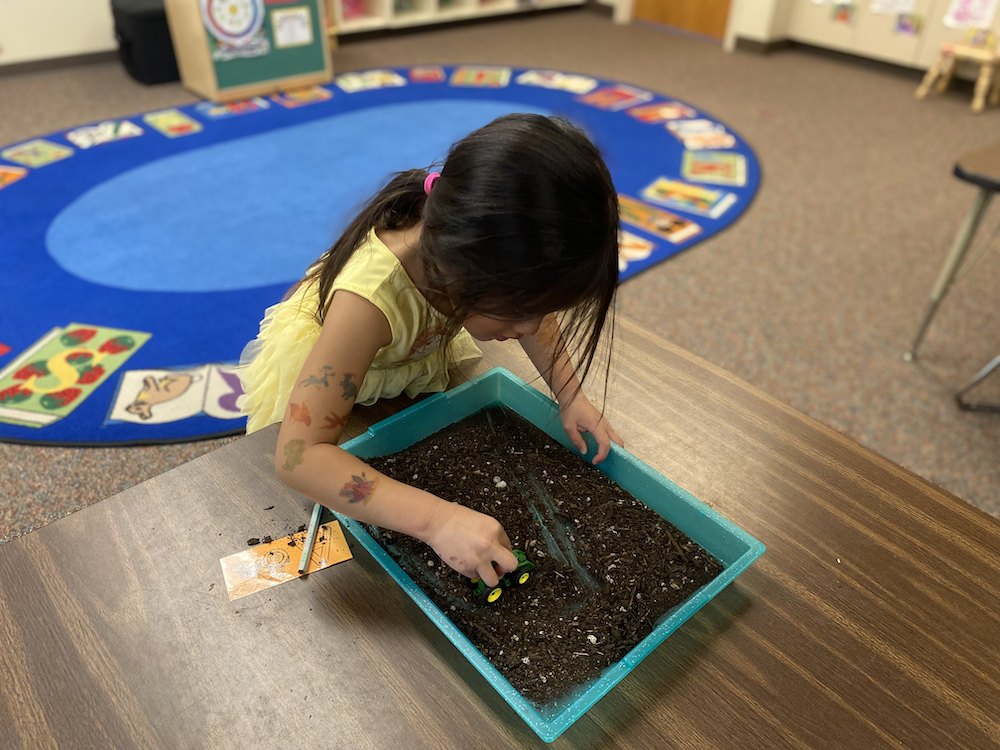 Explain to the students that they will be practicing making letters by choosing an Alphabet Plowing Card and then using a toy tractor to create the letter in the soil.
- Demonstrate how to use the tractor to make the letter by drawing the letter in the soil with a pencil, and then driving the tractor along the lines to make the letter shape.
- Have each child pick an Alphabet Plowing Card from a stack, and show how to write the letter in the soil with a pencil.
- Encourage the children to use the toy tractors to drive along the lines of the letter and make the shape in the soil.
Math: Tractor Squeeze
Teacher Note: Prior to the lesson, print, cut, and laminate the Tractor Squeeze Props and tape a craft stick to the back of each one. Make one set for each group. Determine the most suitable number line for learners to use (1-10 or 1-20) and print, cut, and laminate one for each group..
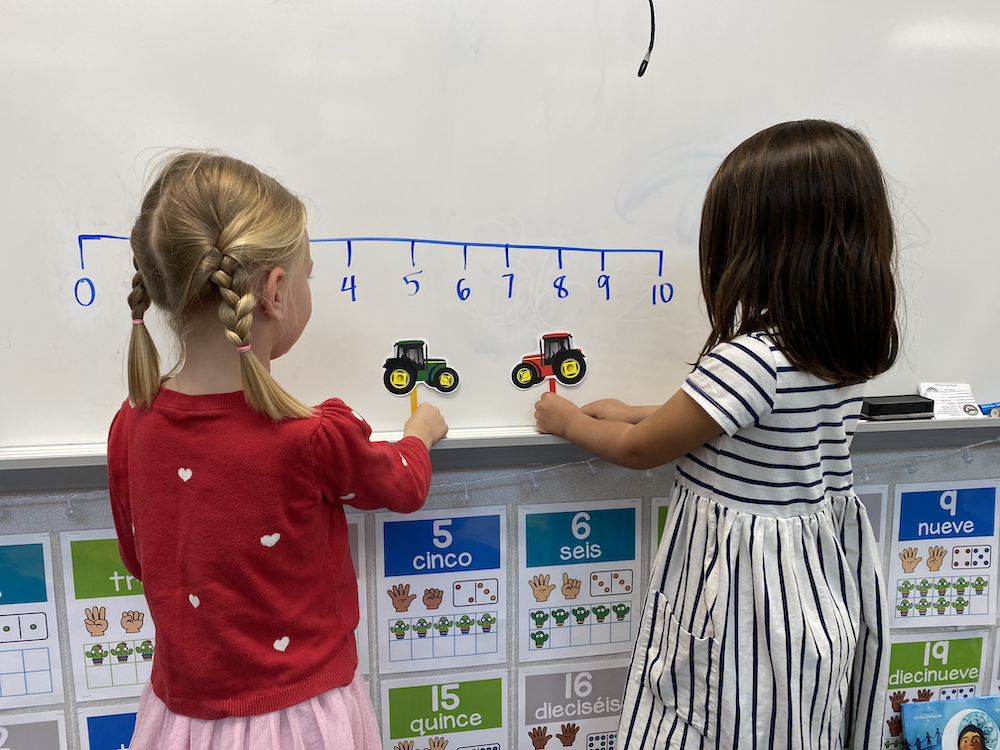 The goal of the game is to correctly guess the mystery number that has been selected by another player using a number line. Ask for a volunteer to partner with you to demonstrate the game to the class.
- To begin the game, one player should select a mystery number from the number line and write it down without revealing it to the player.
- The other player will attempt to guess the mystery nmber. After each guess, the player who selected the mystery number should indicate whether the guess is too high, too low, or correct.
- The number line and tractor props will help the players make more accurate guesses. A tractor prop will be placed at the end of the number line, facing the middle. If the number guessed is too low, the green tractor will advance to that number, narrowing down the possible numbers. If the number guessed is too high, the red tractor will advance to that number. Play continues until the guessing player guesses correctly.
Art: Build a Tractor
Teacher Note: This activity can come to life by inviting a local farmer to bring a tractor to your school site and giving the students the opportunity to see a real tractor and ask related questions.
- Instruct the students to cut out the different tractor parts from the Build a Tractor Templates. As they work, discuss the following parts and their functions:
- Cab: The cab is the main part of the tractor where the driver sits.
- Front Wheels: The front wheels are smaller than the back wheels and are responsible for steering the tractor.
- Back Wheels: The large back wheels provide the tractor with power to move forward. The patterns on the surface of the tire, called tread, help it grip the ground.
- Engine: The engine is the heart of the tractor and provides the power for it to run.
- Exhaust Pipe: The exhaust pipes prevent harmful pollutants from being released into the air.
- Technology: Many modern tractors now come equipped with various technologies to help the driver operate the machine more efficiently and effectively. Some tractors can even be driven by remote control.
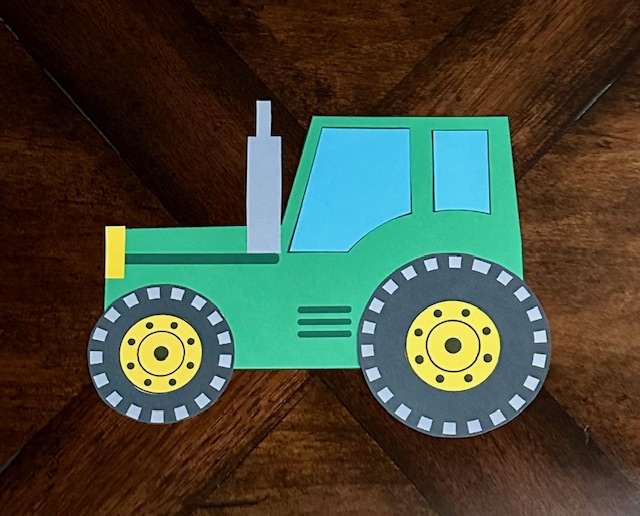 Once all the parts are cut out, help the children assemble the tractor by gluing the parts together to match the attached photo of the completed tractor.
- Glue the smaller yellow wheel onto the middle of the smaller black tire and the larger yellow wheel onto the middle of the larger black tire.
- Glue the smaller tire onto the front bottom of the green tractor and the larger tire onto the back bottom of the tractor.
- Glue the yellow headlight onto the front of the tractor above the smaller tire.
- Glue the larger blue window onto the front of the cab and the smaller blue window onto the back of the cab above the larger tire.
- Glue the gray exhaust pipe onto the tractor in front of the larger window.
- Once the tractors are complete, allow the children to play with them and pretend they are driving around on a farm. You can also encourage them to create their own farm scenes using materials such as playdough or blocks.
Elaborate
- Read the book A Year on the Farm with Casey & Friends to learn about how machines make farm work easier and more efficient.
Evaluate
After conducting these activities, review and summarize the following key concepts:
- Machines on farms make work easier for farmers.
- Farm machines have different parts that help the machine work.
- Different farm machines have different jobs.
Recommended Companion Resources
- A Year on the Farm: with Casey & Friends
- Big Book of Big Tractors
- Big Tractor
- Big Tractors: with Casey & Friends
- Combines: with Casey & Friends
- Farmall in the Family with Casey & Friends
- Hey, Hey, Hay!
- John Deere's Powerful Idea: The Perfect Plow
- John Deere, That's Who!
- Machines on the Farm
- Planters and Cultivators: with Casey and Friends
- Simple Machines: Wheels, Levers, and Pulleys
- Trax the Tractor and His Farming Friends
- Tremendous Tractors
- Up Close Experience: Combines
Author
Mandi Bottoms & Molly Wong
Organization
California Foundation for Agriculture in the Classroom
 |
We welcome your feedback! If you have a question about this lesson or would like to report a broken link, please send us an email. If you have used this lesson and are willing to share your experience, we will provide you with a coupon code for 10% off your next purchase at AgClassroomStore. |