 Relevancy and Engagement
agclassroom.org/
Relevancy and Engagement
agclassroom.org/
Soil and Sustainability (Grades 6-8)
Grade Level
6 - 8
Purpose
Students are introduced to the Dust Bowl and determine how to avoid another event like it in the future as they study soil texture, particle sizes, soil nutrients, and pH. Grades 6-8
Estimated Time
4-6 class periods
Materials Needed
Engage:
- The Dust Bowl student handout, 1 copy per student
- Student access to digital resources:
- History Brief: The Dust Bowl video
- Slide Presentation: The Dust Bowl
- Podcast: Trees that helped save America's farms during the Dust Bowl are now under threat
Activity 1: Soil Texture
- Soil Texture student handout, 1 copy per student
- 500 ml of soil (a flower bed will work—dig under the mulch layer)
- 100 ml graduated cylinder or flat bottomed clear jar with a lid.
- Borax
- Parafilm (or plastic wrap)
- Ruler
- Trowels or shovels for collecting soil (soil core samplers are not necessary, since the goal is to determine texture, not test for nutrient levels).
- Bucket or gallon bags for soil
Activity 2: Soil Nutrient Testing
- Soil Nutrient Testing student handout, 1 copy per student
- 100 ml of soil
- Soil sieve or wire mesh colander
- LaMotte complete soil test kit (available from numerous online distributors)
Activity 3: Soil Stability Test
- Soil Stability Test student handout, 1 copy per student
- 1000 mL beaker
- Soil samples
- Water
- Wire mesh (hardware cloth)
Vocabulary
clay: the smallest of the three soil particle sizes; measuring less than 0.002 mm
fungi: spore-producing organisms that lack chlorophyll and often grow filaments (tiny root-like structures)
glomalin: a glycoprotein produced abundantly on hyphae and spores of arbuscular mycorrhizal fungi in soil and in roots
nitrogen: a colorless, odorless unreactive gas that forms about 78% of the earth's atmosphere
phosphorus: a chemical element that is found in bone and teeth and is also important to chemical body processes
potassium: an essential macronutrient for plant growth
sand: the largest mineral soil particles, measuring between 2.00 and 0.05 mm
silt: sedimentary material composed of fine mineral particles in size between sand and clay
Did You Know?
- 1 tablespoon of soil has more organisms in it than there are people on earth.1
- Dust storms from the Dust Bowl built up static electricity between the ground and airborne dust causing blue flames to leap from barbed wire fences.2
- Only about 1% of soil microorganisms have been identified.3
Background Agricultural Connections
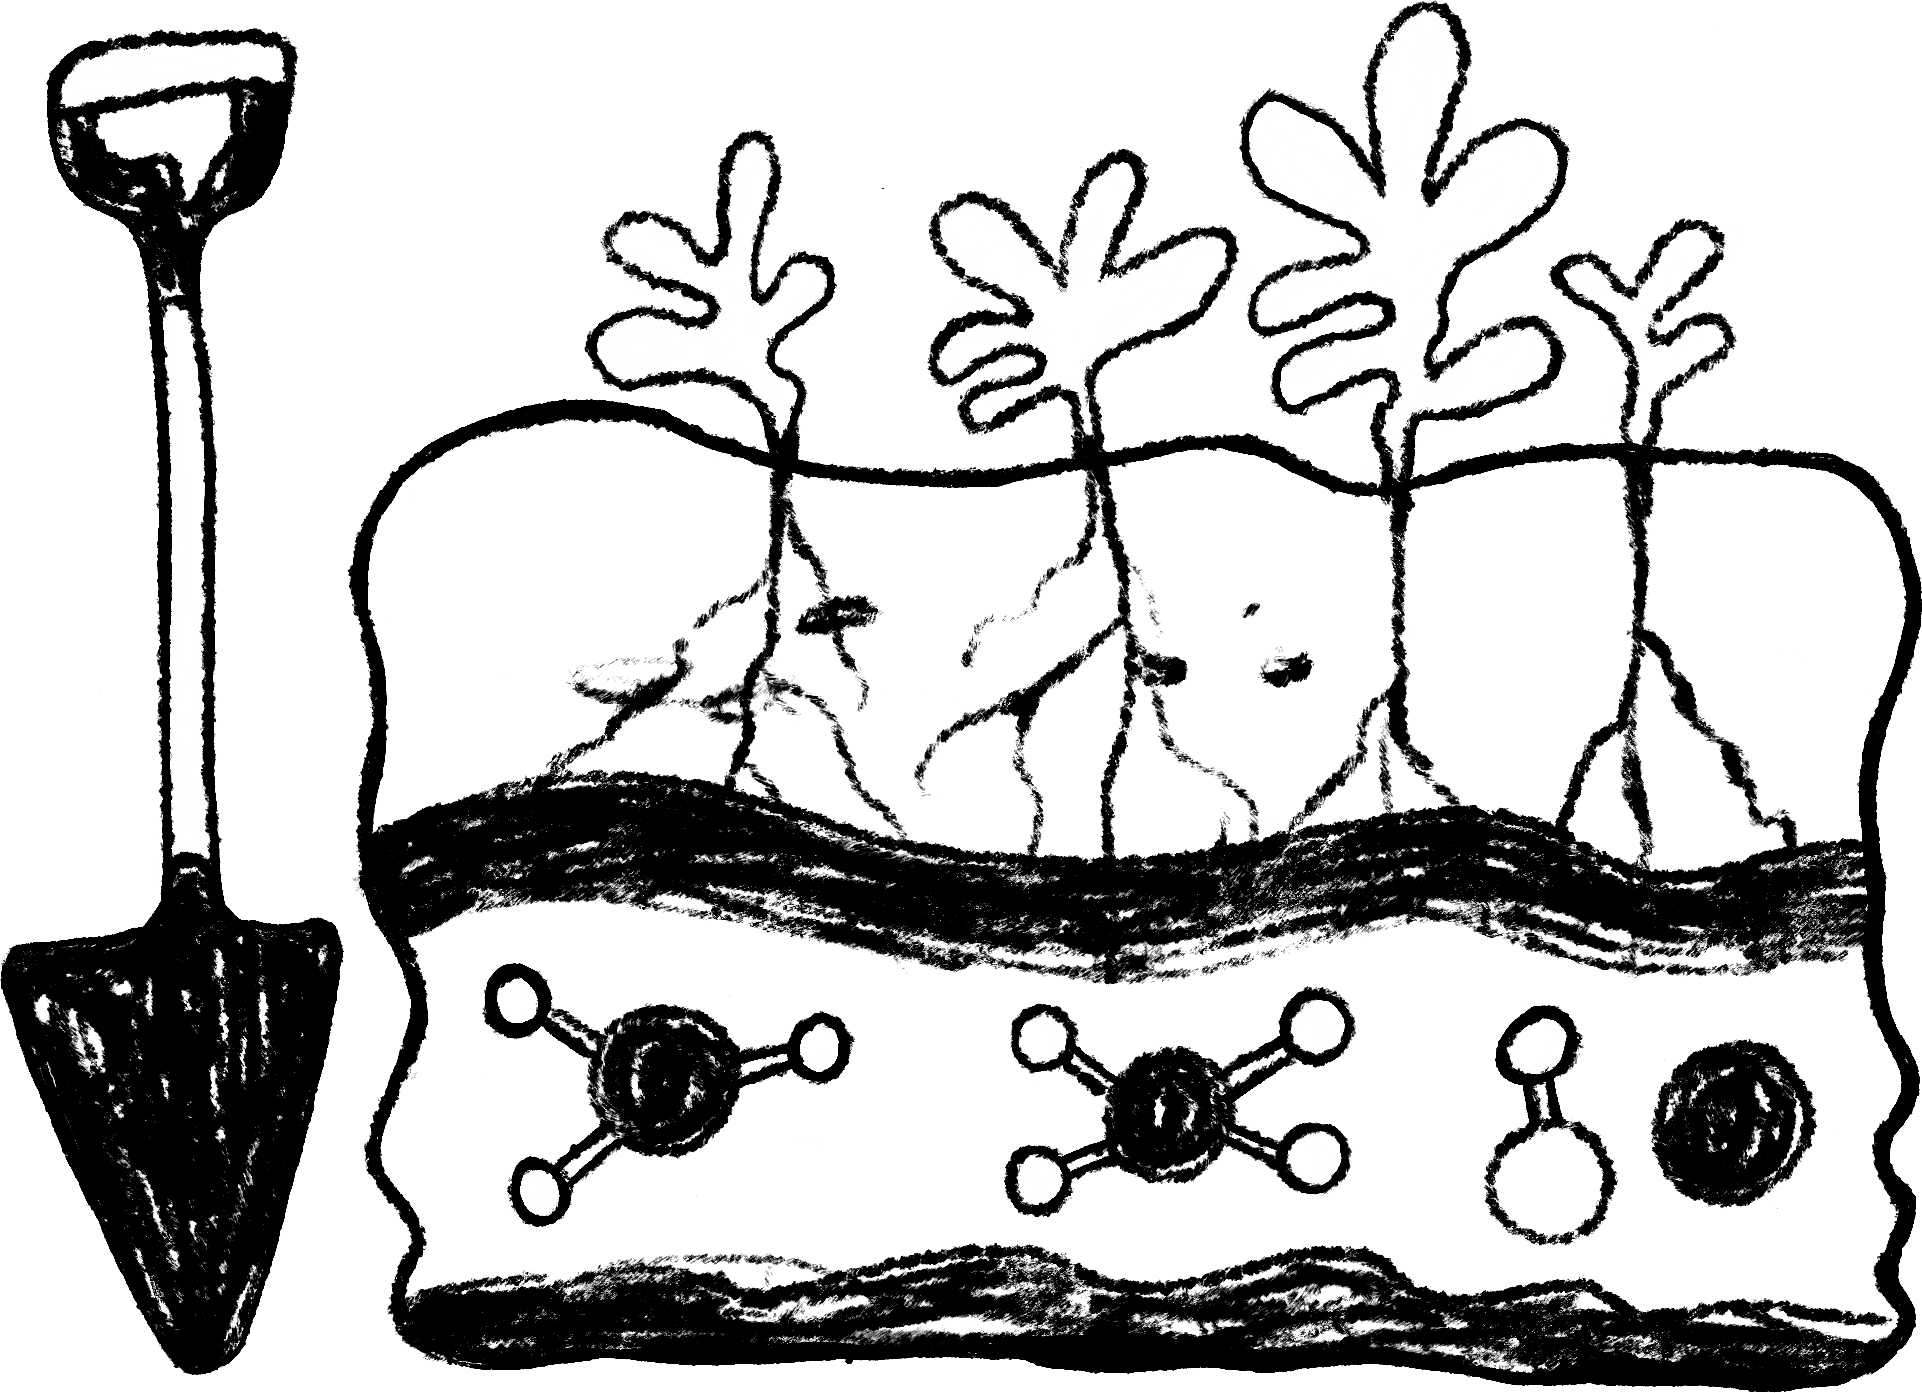 Soil is made up of three different particle sizes in varying amounts: sand, silt, and clay. Clay are the smallest particles, yet they hold the most water and nutrients. Clay particles are charged particles and can hold onto the ions in nutrient compounds, allowing roots to easily absorb and use them. The disadvantage of clay soil is that it can become water-logged and when it dries, the soil surface may become hard as rock. Clay soils also may become easily compacted, since the spaces between the particles are so small. Water does not easily move through clay soils, so it is said to be less permeable than other soils.
Sand is the largest soil particle. Sandy soil does not hold nutrients or water. Generally, sandy soils do not have a lot of organic material nor many microbes. Without the organic material to feed on, there isn’t much for microorganisms to eat. Sandy soils are the most permeable and porous, with large spaces between the particles.
Silt is another soil particle, between clay and sand in terms of size. Silty soils result from wind, water, ice, and snow carrying dust particles. River sediments are usually classified as silt. Silt is found everywhere and most soils are a combination of all three soil particles. Other materials found in soil include organic matter (once-living material, commonly referred to as humus—not to be confused with hummus that you can eat!), along with nutrients (forms of nitrogen, phosphate, and potassium) and minerals (such as sulfur, calcium, boron, etc).
The objective of this lesson is to introduce students to the Dust Bowl and pose the question: How might we avoid another Dust Bowl-type of event?
Soil Texture
Soil is composed of particles that are categorized into groups according to their size, as shown in the table below.  The sediment sizes and percentages of each in a sample are determined by the history of geologic and climatic events in an area.
One method of classifying soils is to measure the relative amounts of sand, silt, and clay in a soil sample, then use a soil triangle to determine the soil type. In this lab, the textural classification of a soil sample will be determined by measuring the relative amounts of sand, silt, and clay particles, then using a soil triangle to determine the soil type. The comparative volumes of sand, silt, and clay will be determined since the different-sized particles will settle out of the soil/water mixture at different rates and different levels with the largest particles on the bottom and the smallest on the top.
This can be accomplished in two different ways, one by feel and the other by volume. It is best to have students attempt both methods on the same soil, then compare their results. Texture by feel is subjective or qualitative following steps in a flow chart (see flow chart).
Students will begin with a sample of soil that covers the palm of the hand, that has had organic material and foreign debris removed. Wet the soil by pouring 3–5 ml of water on top in the cupped palm. The soil should be kneaded to work in the water; add more water as kneading to make a ball. It should feel like putty. Answer the questions as posed on the flow chart. (See What is a Soil Ribbon? for a demonstration of a soil ribbon).
Texture by volume is quantitative and can be accomplished by creating a soil column in a flatbottomed container with a lid or a graduated cylinder in which a quantity of water is added to soil, along with a small amount of borax or non-foaming dish soap, shaken vigorously for at least two minutes, then allowed to settle for 24–48 hours1. See step-by-step demonstration.
The layers of soil will settle out with sand on the bottom, silt in the middle, and clay on the top. Students then measure the height of each level, then add the heights together to get a total soil column height. Divide each layer by the total to determine the percentage of each soil particle in the column. Use the soil texture triangle to find out what soil type you have. 
Soil Nutrient Testing
The three major nutrients found in soil are nitrogen (N), phosphorus (P), and potassium (K). N and P usually occur in the form of compounds (Nitrate and Phosphate) while K is generally available in soil solution only. pH can play an important role in soils as it controls nutrient uptake by roots. If the soil is too acidic, other ions can leach out of the soil and create additional problems with run off.
Soil is best conserved when covered or anchored with plant roots. Loose soil can be easily eroded by wind, rain, ice and snow. When soil erodes, it may enter into waterways, carrying nutrients with it that can impact the health of streams.
Organic matter in soils can vary greatly. Generally, the darker the soil, the more organic matter found in the soil. “Properties influenced by organic matter include: soil structure; moisture-holding capacity; diversity and activity of soil organisms, both those that are beneficial and harmful to crop production; and nutrient availability. It also influences the effects of chemical amendments, fertilizers, pesticides and herbicides.” (FAO) Large amounts of organic matter may indicate that there are naturally occurring decomposers that will cycle nutrients through the soil.
Humans have made use of soils in order to efficiently plant and raise crops for food, not just for people, but animals as well. In the hundreds of years humans have farmed, there have been many developments in technology. Most farmers have soils on their farms tested following a grid pattern, every 2.5 to 5 acres, and based on the results, they will apply only the inputs of fertilizer that the soils need.
Soil Stability
Soil stability or structure is a result of healthy microbes, plant cover, and adequate nutrient flow. The test used in this activity is referred to as a slake test. As soil is immersed in water, portions of the soil will slake off into the water, if the soil has little glomulin or microbe activity. Humans can improve the stability of a soil by rotating crops, having plants in soil all year round, and reducing the amount of cultivation or tillage.
Engage
- Give each student one copy of The Dust Bowl student handout. Instruct students to answer the questions as you introduce the topic.
- Begin with an overall presentation on the Dust Bowl event. Allow students to watch/listen to at least one additional presentation and discuss what they learned with members of their lab group. Resources include:
- History Brief: The Dust Bowl video
- Slide Presentation: The Dust Bowl
- Podcast: Trees that helped save America's farms during the Dust Bowl are now under threat
- Begin a Driving Question Board (DQB) with student questions from their handout and their research. Once questions are generated on sticky notes or a white board, have students work together to group the questions into categories to investigate. This may generate more questions.
- Introduce the question, "How might we avoid another Dust Bowl-type of event?"
- Determine the direction of future study: soil types, soil structure, human impacts (agriculture, development), aspects of healthy soil, importance of soil, etc.
Explore and Explain
Activity 1: Soil Texture
What is soil texture? How is it determined? What geologic history contributed to soil texture?
- Before class, determine where students can collect soil samples or ask students to bring in samples from home.
- Have students dig below the root zone of a flower bed or grassy area to collect soil. They will not need more than a gallon bag full.
- Once samples have been collected, find a space in the room for soil samples to be spread out so organic material, roots, and debris may be removed.
- Give each student one copy of the Soil Texture student handout.
- Provide clear, flat-bottomed containers (spice or mason jars work) or large graduated cylinders for soil columns. (Jars are recommended because it is difficult to get soil out of graduated cylinders after settling occurs.)
- Instruct students to follow the instructions in the Day 1 section of their handout. Students should prep the soil columns, then complete the soil texture by feel flow chart.
- The following day, instruct students to follow the instructions in the Day 2 section of the handout. Students can measure the height of each layer in the column, complete the calculation to determine the percentage of each to the total, then use the soil texture triangle to identify the soil texture.
- Note: Keep soil samples so students can use them for nutrient testing and soil stability.
- Refer to the Soil Texture—Key to find options for differentiation in the classroom and a rubric to evaluate the assessment.
- Conclude the activity by discussing the connection between soil texture and the production of our food. Include the following in your discussion:
- Soil texture impacts water drainage. Well drained soils have good soil aeration which is helpful for healthy root growth.
- Soil type and texture various by region. This is one factor that impacts the location or prevelance of farming in specific geographic regions.
- Soil texture impacts the availability of soil nutrients.
Activity 2: Soil Nutrient Testing
What nutrients are found in soil? What effects do the nutrients in soil have on plants?
- Give each student one copy of the Soil Nutrient Testing student handout.
- Teacher Note: This lesson will take place over two days if you ask students to prepare the samples. The samples collected for the soil texture activity (Activity 1) are appropriate to use for this activity. If the soils were left to dry after the texture activity, Day 1 should be spent having students move their samples through a wire screen sieve or mesh colander, being sure to break up the soil particles for testing in the small test tubes that come with the Lamotte kits. Re mix all soil particles from the samples, not just the smallest particles. If samples are collected specifically for this activity, it will take 12–24 hours for soils to be dry enough to use for testing nutrients. Do not bake samples to accelerate drying. This will remove the organic matter and potentially change the nutrient levels in the samples.
- Instruct students to follow the instructions outlined on the handout and provide lab materials.
- Refer to the Soil Nutrient Testing—Key to find options for differentiation in the classroom and a rubric to evaluate the assessment.
- Discuss the connection between soil nutrients and crop growth. Include the following points in your discussion:
- Farmers must monitor and manage their soil nutrients for optimum crop growth.
- Soil pH is important to crop growth. Some crops prefer alkaline soils while others thrive in slightly acidic soil.
Activity 3: Soil Stability Test
How do soils differ in stability? What helps soil to be stable?
- Give each student one copy of the Soil Stability Test student handout.
- Review the instructions contained on the student handout.
- Teacher Tip: Review the Soil Health Lessons in a Minute: Soil Stability Test video for a demonstration of the experiment the students will perform. As you select the soil samples, try to have one sample of soil that is generally unaffected by human use (natural ecosystem) as well as soil that is tilled and used for farming or gardening (agricultural ecosystem).
- Teacher Tip: Review the Soil Health Lessons in a Minute: Soil Stability Test video for a demonstration of the experiment the students will perform. As you select the soil samples, try to have one sample of soil that is generally unaffected by human use (natural ecosystem) as well as soil that is tilled and used for farming or gardening (agricultural ecosystem).
- Instruct students to follow the instructions on the handout to complete the activity.
- Refer to the Soil Stability Test—Key to find options for differentiation in the classroom, answers to reflection questions, and a rubric to evaluate the assessment.
- Complete the activity by discussing the advantages and disadvantages of converting natural ecosystems to agricultural ecosystems. Help students recognize that humans do impact the soil through tillage and other farming techniques. However, they provide food for a growing population.
- Ask, "How can technology be used to conserve soil while still producing our food, fiber, and fuel?" Discuss ideas such as no-till or minimum till farming.
Elaborate
-
Ask students to research how to adjust soil pH for ideas on how to change the pH of soil.
-
Watch, What is Soil (and why is it important)?: Crash Course Geography #17. This video illustrates soil horizons and describes how the composition of soil varies dramatically with the environment and serves as the foundation of life on Earth.
Evaluate
After conducting these activities, review and summarize the following key concepts:
- Soil texture, pH, and nutrient content impacts the growth of crops.
- Maintaining healthy soil is the foundation of sustainable food production
- Arable land is a valuable resource.
- Farming converts land from a natural ecosystem to an agricultural ecosystem and requires different conservation management practices for sustainability.
Sources
Acknowledgements
This lesson is from the Soil and Sustainability unit created by Nourish the Future.
Recommended Companion Resources
- 4R Reader
- Black Blizzard
- Children of the Dust Bowl: The True Story of the School at Weedpatch Camp
- Dust Bowl Diary
- Dust Bowl: CBS 1955 Documentary
- Erosion: How Hugh Bennett Saved America's Soil and Ended the Dust Bowl
- FDR's Fireside Chat: Dust Bowl
- Move 'N Around—The Nitrogen Cycle Game
- Soil Science Videos
- SoilWeb Interactive Map
Author
Nourish the Future
Organization
Nourish the Future